Installing Windows OS using CD or DVD is so familiar a few years ago. Today, most people are not doing it again, as we know some new PC or laptop delivered to end user without CD-ROM or DVD-ROM. To replace the CD-ROM or DVD-ROM the vendor add Universal Serial Bus (USB) or Flashdisk port to laptop or PC products. At least on new Laptop and PC already attached 2 USB port. In general USB port make it simple and read data faster than CD-ROM or DVD-ROM. And now to install Windows 10 OS (fresh install or reinstall) you can use USB as media installation, what you need is USB stick (Flash drive or Flashdisk) that comes with Windows 10 installation file, and to make it work, your Windows 10 USB must be bootable. So if you want to make your USB bootable to install Windows 10, you can try to follow this guide.
How to Create Windows 10 USB Bootable Media (Flashdisk)
Step 1
You need the Windows 10 ISO file to get started.
Download the third party tool such as RUFUS.
There is two version of Rufus: installer, and portable. We recommend downloading a portable version. More about Rufus and download latest version Rufus click here.

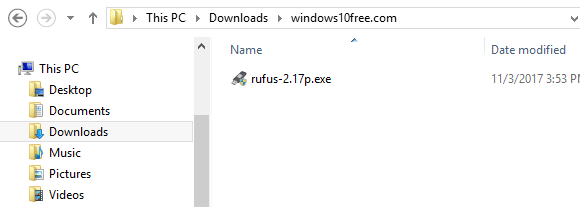
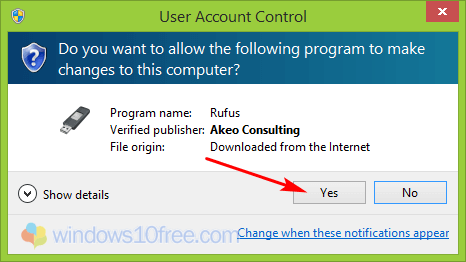
Step 2
Run rufus-2.17p.exe (for portable version), if UAC (User Account Control) screen prompted, click Yes.
On each run, Rufus will ask about new updates for the software, just select Yes and let the software check the update automatically.
Step 3
Rufus opened, and you are on the main screen.
Insert your USB (at least USB have free space 4GB, recommended 8GB). Rufus will detect your USB drive automatically, if not just close the Rufus software and open it again.
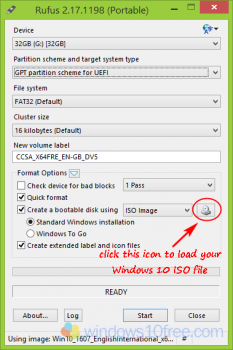
Step 4
Load your Windows 10 ISO file.
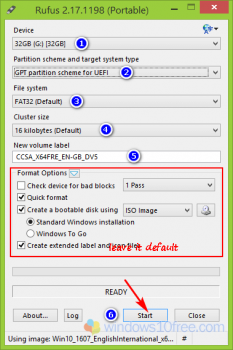
Step 5
Adjust the Setting.
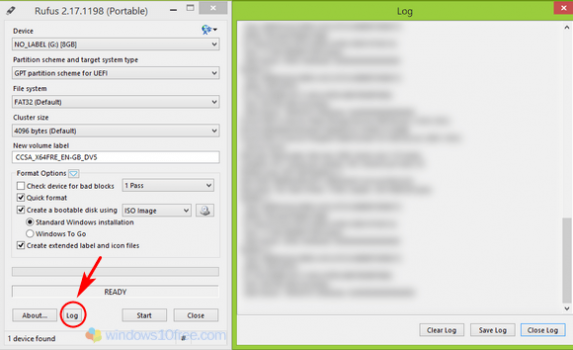
It depends on your need; most setting will load by default. However, set the Rufus options as you need, if you know what you are doing. Other than that just use default setting.
Device > Automatically detected, Partition scheme and target system type > GPT partition scheme for UEFI, File system > Auto detect (use Default), Cluster size > Auto detect depend on USB type (use default), New volume label > Auto detect but you may change it. Other options just follow the picture below. When everything set, just click on Start.
Step 6
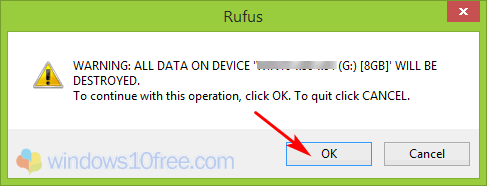
When screen prompted a WARNING about contents deletion, click OK.
Afterward the process creation the Bootable Media USB will start.
When the process complete. Your bootable Windows 10 USB is ready to use.
If you want to see the process log, click on Log button and the new screen will open with details log.