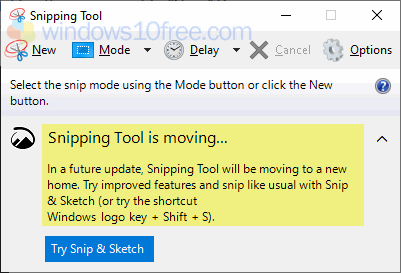
Some Windows user doesn't know if Windows 10 has a built-in screenshot tool. Unlike a third-party application, the windows 10 screenshot tool doesn't have many options and features. However, if you want to use the Windows 10 screenshot to do a simple task, it would be sufficient. For a professional and complicated job, you need another application. Since October 2018, Windows 10 update introducing the new way to take snapshot your PC screen. Snipping Tool exists since Windows Vista and now is being phased out and replaced by Snip & Sketch.
Take Windows 10 Screenshot Using Print Screen Key
You can take a screenshot of your PC screen by pressing the Print Screen key on your keyboard. Some keyboard manufacture was giving a label the key with “PrtSc”, “Print Scr”, “PrntScrn”, “PrtScr”, “PrtScn”, or other names. On some keyboard like a laptop keyboard, you need to press the function key (Fn key) to activate the Print Screen. Pressing the Print Screen key will save your screenshot to your clipboard. If you want to edit and see the screen result, you need to open an image editor, word processor, or other application and paste it.
Save Windows 10 Screenshot as File
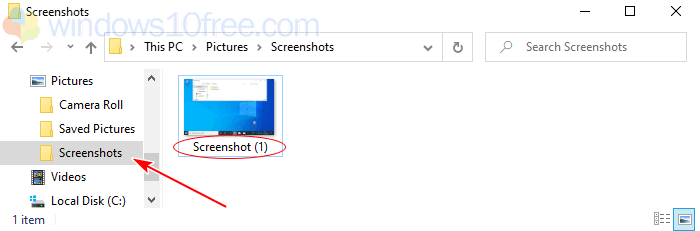
To save the screenshot as a file, you can press the Windows logo + PrtSc. For a laptop press Windows logo + Fn + PrtSc. Depend on your keyboard label, the Print Screen key may be different. When you use this combination key, your PC/Laptop screen will dim, and the system will save all screenshots under folder Picture > Screenshots. The file automatically will have the name “Screenshot” with an ordered number such as “Screenshot (1)”, “Screenshot (2)”.
![]()
If you want to disable “dim” screen effect when you are capturing the screen using screenshot shortcut Windows logo + PrtSc or Windows logo + Fn + PrtSc, you can turn off option “Animate windows when minimising and maximasing” on Performance Options setting.
- Right click on “This PC“, then select Properties.
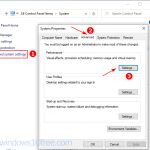
- System Properties screen appear, click on Advanced system settings. Then select Advance tab. Under Performance select Settings.
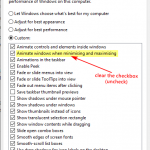
- Performance Options will open. Select Visual Effects tab. Then clear checkbox (uncheck) option “Animate windows when minimising and maximasing”. Click OK or Apply to finish the setting.
How To Capture Active Windows Only
If you want to take a screenshot for active windows only, use one following method. In this example, the keyboard has a Print Screen label “PrtSc.”
Method One:
- You must put the opening window you want to capture in top other windows then press Alt + PrtSc key. The capture save on clipboard. For a laptop keyboard use Fn + Alt + PrtSc.
- To see the result, open image editor like Paint. To open Microsoft Paint click on Start > Windows Accesories > Paint. Then paste and save it.
Method Two:
- Make sure the window you want to capture is at the top of the other window. Then press Alt + Windows logo + PrtSc. Add combination Fn for laptop keyboard.
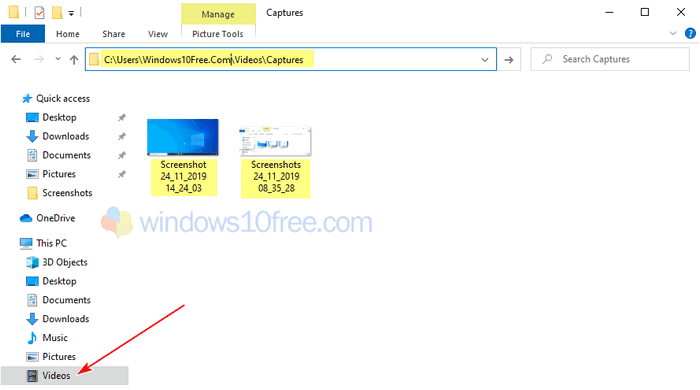
- Check folder
C:\Users\[your username]\Videos\Captures
Your screenshot save automatically on Captures folder with unique name “Screenshots” followed by date and time as file name.

How To Capture Specific Screen Region
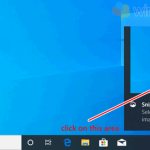
Press Windows logo + Shift + PrtSc key. Snip & Sketch menu will show on top windows. There are four options to capture the screen. Choose the Rectangular Snip option, and when the screen goes grey out, you can select the region from the screen that wants to save. Your capture saved to the clipboard, to edit and save the result, click on popup notification, and Snip & Sketch editor will open.
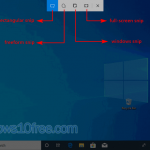
Snip & Sketch Tool Options
- Rectangular Snip
When you choose this option, your screen will grey out, and you can use your mouse to select a specific area and capture it. - Freeform Snip
Select specific region on-screen with your mouse using drawing freehand mode. - Window Snip
Capture on a selected active window on screen without another part of the screen. To capture the active windows choose the active windows and click it. - Full-screen Snip
When this mode selected, full-screen will capture automatically.
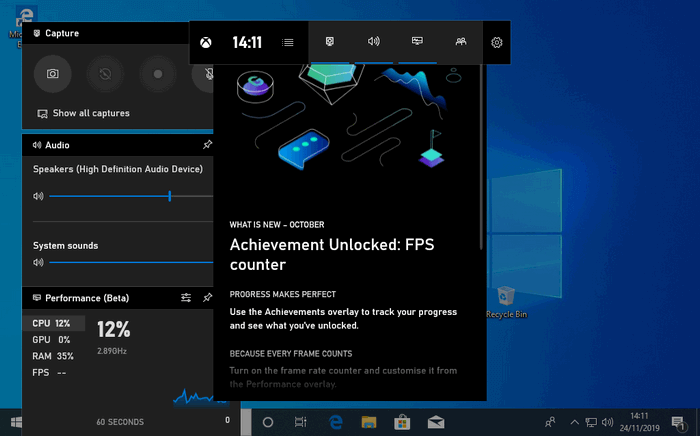
Take Screenshot on Windows 10 Using Game Bar
Windows 10 Xbox app Game DVR has a feature called the Game Bar. With the Game Bar, you can take a screenshot of the game, record the clips, broadcast and share it. As a basic function, the Game Bar can capture the screen, and it means you can use it to take a screenshot of your Windows 10 screen. The default shortcut to open the Game Bar is the Windows logo + G key. However, you can customize the shortcut as you wish.
To change the default shortcut Game Bar, press the Windows logo + G key. Go to Settings > Shortcuts. Under Keyboard change preferences, the shortcut as you wish.
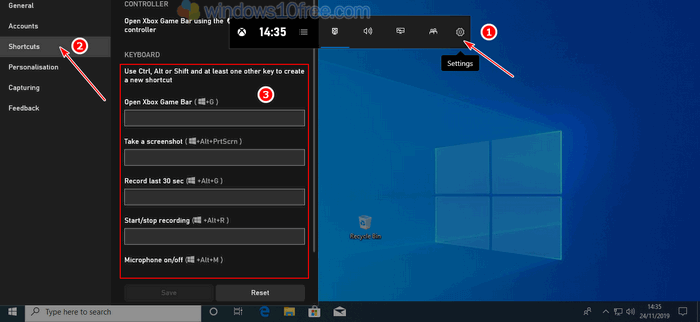
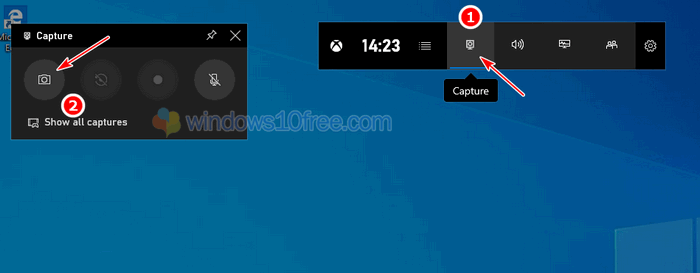
To take a screenshot using the Game Bar, you can use shortcut Windows logo + Alt + S, or you can open the Game Bar menu with Windows logo + G key, then choose Capture and Take the screenshot. You can find all capture images under folder C:\Users\[your username]\Videos\Captures.